[Geographic Data] (E)
Description: Imports geographic data.
Geographic data can be imported from file formats in Table 8.
Type |
Format |
|---|---|
Point Cloud data |
Topography file (*.tpo) |
Text file (*.csv, *.txt, *.xyz) |
|
STL file (*.stl) |
|
LandXML file (*.xml) |
|
Cross-section data |
Cross-section data (*.riv) |
Japan MLIT Cross-secion data (*.csv) |
|
Raster data |
GeoTIFF file (*.tif) |
Arc/Info ASCII file (*.asc) |
|
16bit grayscale PNG file (*.png) |
|
NetCDF file (*.nc) |
|
Time series raster data |
GeoTIFF file (*.tif) |
Arc/Info ASCII file (*.asc) |
|
NetCDF file (*.nc) |
|
X band MP rader data (*.*) |
|
Polygons |
ESRI Shapefile (*.shp) |
CSV file (*.csv) |
|
Lines |
ESRI Shapefile (*.shp) |
CSV file (*.csv) |
|
Points |
ESRI Shapefile (*.shp) |
CSV file (*.csv) |
When you select [Geographic Data], a list of importable geographic data is shown as submenus. Select the geographic data you want to import and the [Select file to import] dialog (Figure 60) will open. Select the file to import the geographic data.
You can see the imported geographic data in [Object Browser]. Figure 61 shows an example of the iRIC window after importing a river survey data.
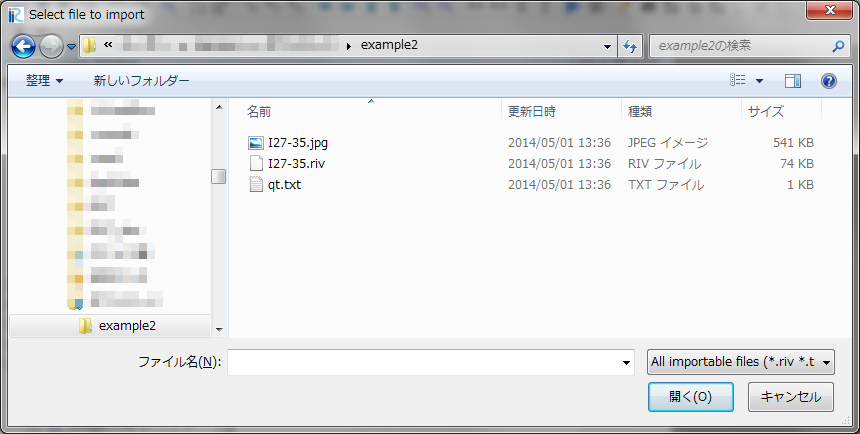
Figure 60 The [Select file to import] dialog
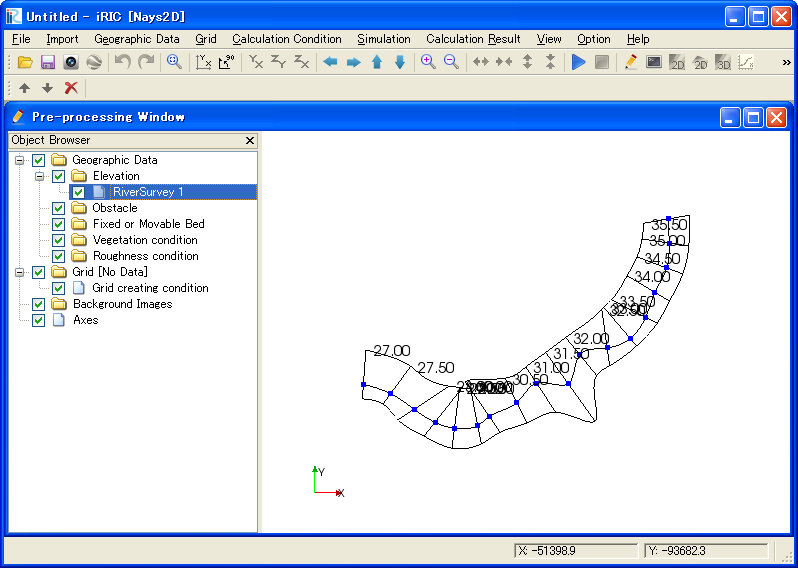
Figure 61 iRIC window after importing a river survey data
Additional operations dependent on file formats are explained below.
Topography file (*.tpo)
When the file to import is selected, [Filtering Setting] dialog (Figure 62) is shown.
Please edit Filter value when needed, and click on [OK] button to proceed.
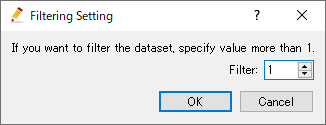
Figure 62 [Filtering Setting] dialog
Text file (*.csv, *.txt, *.xyz)
When you select a file, [Import Setting] dialog (Figure 63) is shown.
Please specify appropriate setting, checking [Preview] region, and click on [OK] button to proceed.

Figure 63 [Import Setting] dialog
Cross-section data (*.riv)
When you import cross-section data, the selected file is checked for errors. If problems are found, [Problems Found in Data] dialog (Figure 64) is shown.
After that, [Cross-Section Data Import Setting] dialog (Figure 65) will open. Specify the import setting and click on [OK].

Figure 64 [Problems Found in Data] dialog
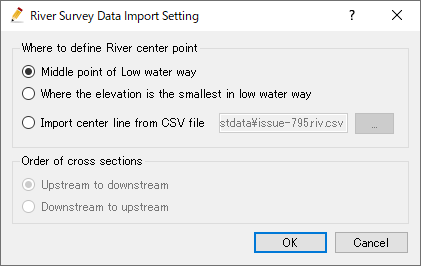
Figure 65 The [Cross-Section Data Import Setting] dialog
Japan MLIT Cross-section data (*.csv)
At first, please select the CSV file that contains distance marker data. Then [Select folder where cross section data exists] dialog is shown, so select the folder and click on [Select Folder] button.
When importing from Japan MLIT Cross-section data, the file is checked for errors. If problems are found, [Prolems Found in Data] dialog () is shown.
After that, just like Cross-section data (*.riv), [Cross-Section Data Import Setting] dialog (Figure 65) will open. Specify the import setting and click on [OK].
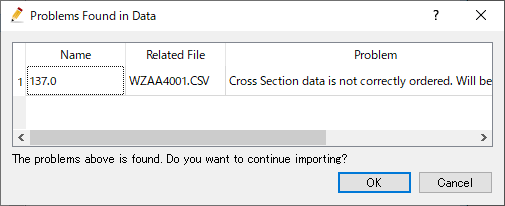
Figure 66 [Problems Found in Data] dialog
GeoTIFF file (*.tif), Arc/Info ASCII file (*.asc) (Raster data)
When you import GeoTIFF file (*.tif), Arc/Info ASCII file (*.asc) to import raster data, if information about coordinate system is not included in the file, [Warning] dialog (Figure 67) is shown, and [Select Coordinate System] dialog (Figure 68) is shown.
When importing aGeoTIFF file, the coordinate system information included in the file is imported. When importing an Arc/Info ASCII file, the coordinate system information included in *.prj file is imported, if it exists.
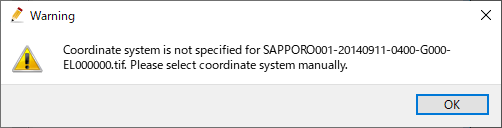
Figure 67 [Warning] dialog
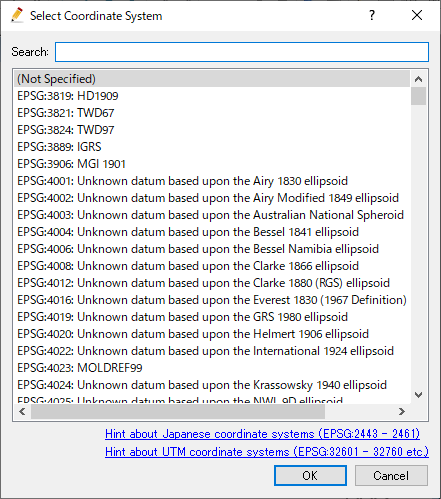
Figure 68 [Select Coordinate System] dialog
GeoTIFF file (*.tif), Arc/Info ASCII file (*.asc) (Time series raster data)
When you import GeoTIFF file (*.tif), Arc/Info ASCII file (*.asc) to import time series raster data, time of date included in each file is recognized from file names.
When the file name matches one of the following patterns, the files will be imported automatically.
YYYY-MM-DD_hh:mm:ss
YYYY_MM_DD_hh:mm:ss
YYYYMMDD-hhmmss
YYYYMMDD_hhmmss
YYYYMMDD-hhmm
YYYYMMDD_hhmm
If the file name matches none of them, [File name pattern setting] dialog (Figure 69) is shown. Please input the pattern to correctly recognize time values from file names.

Figure 69 [File name pattern setting] dialog
NetCDF file (*.nc)
When you import NetCDF file into geographic data that has dimensions other than position, the [Dimension Mapping Setting] dialog (Figure 70) will open. Setup the mapping setting about the dimensions, and click on [OK].
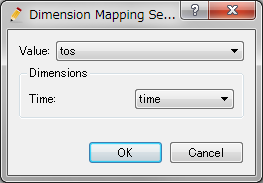
Figure 70 The [Dimension Mapping Setting] dialog
X band MP rader data (*.*)
When you import XRAIN rainfall data as geographic data, save XRAIN rainfall data files into one foler, and select one of them in the dialog. The, all rainfall data in that folder are loaded and imported.
ESRI Shapefile (*.shp)
When importing polygons or polylines from ESRI shape files, [Polygon (or Polyline) Import Setting] dialog (Figure 71) is shown. Specify the setting for importing name and value, and click on [OK] to proceed.
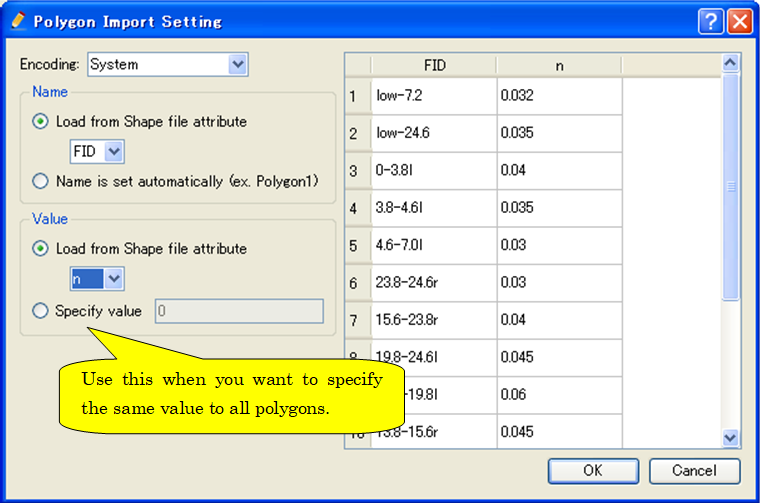
Figure 71 [Polygon Import Setting] dialog