[View] (V)
The functions of the items under the [View] menu are explained in the following sections.
[Toolbar] (T)
Description: Shows/hides the Toolbar.
When the Toolbar is shown, the item is checked.
[Object Browser] (O)
Description: Shows/hides [Object Browser] in the active subwindow.
When the [Object Browser] is shown, the item is checked.
You can also hide the [Object Browser] by clicking on X button in label of [Object Browser] (Figure 107).
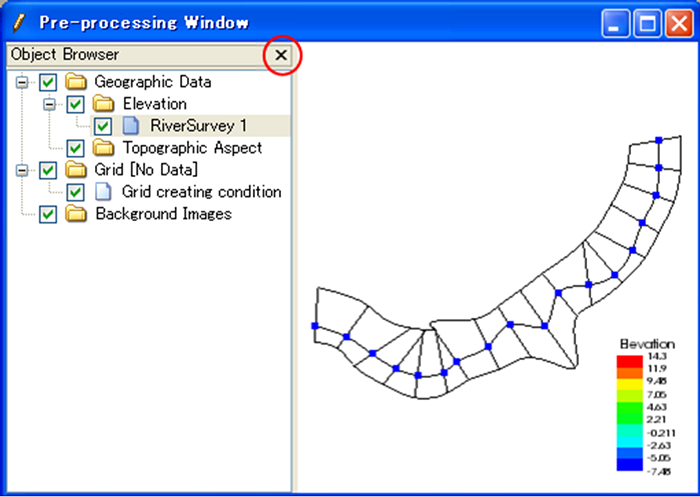
Figure 107 The [Object Browser] window of the [Pre-processing Window]
[Attribute Browser]
Description: Shows/hides [Attribute Browser] in the active subwindow.
When the [Attribute Browser] is shown, the item is checked.
You can also hide the [Attribute Browser] by clicking on X button in label of [Attribute Browser] (Figure 108).
Figure 108 The [Attribute Browser] window of the [Pre-processing Window]
[Status Bar] (S)
Description: Shows/hides [Status Bar].
When the [Status Bar] is shown, the item is checked.
When iRIC is launched, the [Status Bar] is shown as default. Figure 109 shows iRIC window after hiding [Status Bar].
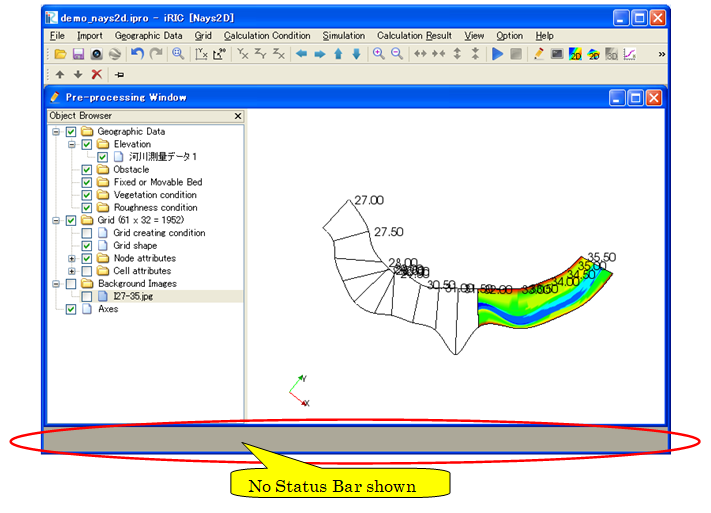
Figure 109 iRIC window after hiding [Status Bar]
[Background Color] (B)
Description: Changes the background color of the currently active subwindow’s canvas region.
When you select [Background Color], the [Background Color] dialog (Figure 110) will open. Select the color you want to use for background and click on [OK].
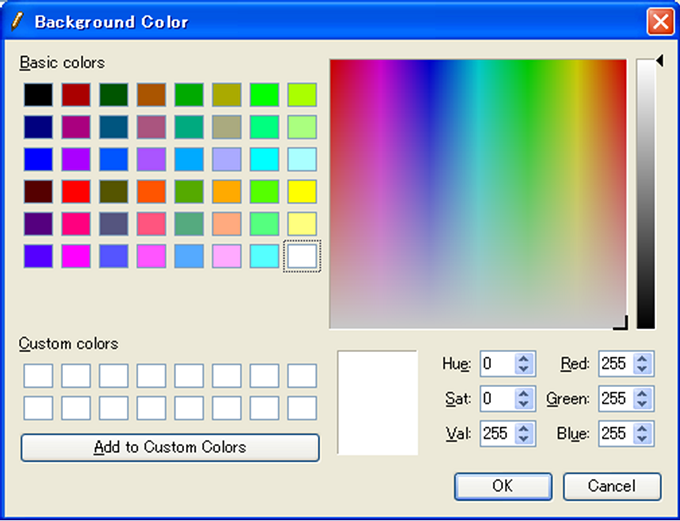
Figure 110 The [Background Color] dialog
[Z-direction scale] (Z)
Description: Changes the scale factor in the Z-direction.
This function is available only when the active subwindow is either of [Bird’s Eye Grid Window], [Bird’s eye 2D Post-processing Window], or [3D Post-processing Window].
When you select [Z-direction scale], the [Z-direction Scale] dialog (Figure 111) will open. Input new Z-direction scale, and click on [OK].
Example of [Bird’s Eye 2D Post-processing Window] before and after changing Z-direction scale is shown in Figure 112.
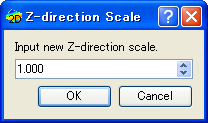
Figure 111 The [Z-direction Scale] Dialog
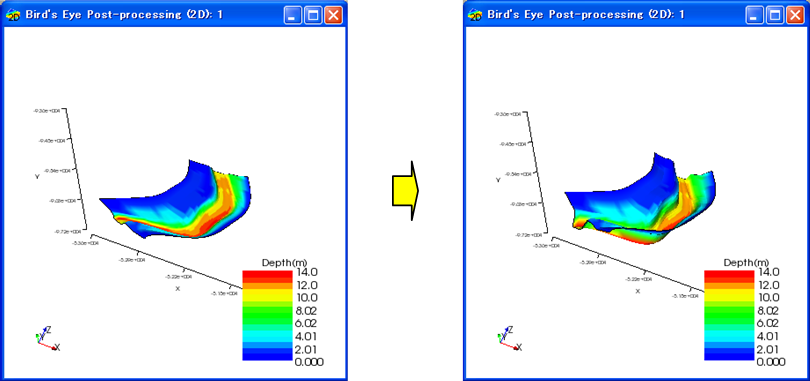
Figure 112 Example of editing Z-direction scale in [Bird’s Eye 2D Post-processing Window]
Set Projection to (P)
Switch Projection between Parallel projection and Perspective projection.
This function is available only when the active subwindow is either of [Bird’s Eye Grid Window], [Bird’s eye 2D Post-processing Window], or [3D Post-processing Window].
Align Windows (A)
Aligns the currently displayed windows.
An example of the window alignment dialog is shown in Figure 113 and an example of the aligned windows is shown in Figure 114.
Setting items are described below.
- [Alignment]
Specify how to align, from Horizontal, Verical and Grid.
- [Condition]
Valid only when “Grid” is selected as [Alignment]. Specify the number of columns or rows in the grid.
- [Total Size]
Specifies the total size of the window after it has been aligned.
If you save a snapshot with [Continuous Snapshots / Movie / Google Earth Export] after aligning windows with this function, the size of the image/video will be the same as the size specified here.
- [Margins between windows]
When windows are aligned, this parameter specifies the margin between the target areas of each window for saving snapshots.
The default value is set so that the window borders do not overlap each other.
- [Hide Object Browsers]
If checked, hides the object browser.
It is convenient to hide the object browser, if you want to save snapshots with [Continuous Snapshots / Movie / Google Earth Export].

Figure 113 Align Windows dialog

Figure 114 Example of windows after aligning
Copy Camera Setting (C)
Copies the camera settings in the currently active window to other windows.
An example of [Copy Camera Setting] dialog is shown in Figure 115. An example of the display after copying the setting is shown in Figure 116.

Figure 115 [Copy Camera Setting] dialog

Figure 116 Example after copying camera setting