Editing [Points]
Description: Define geographic data defined as Points. Figure 248 shows an example of [Points].
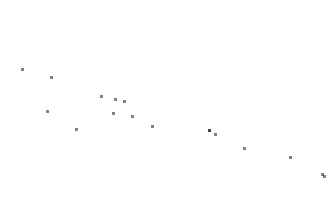
Figure 248 Example of the [Points]
Note
[Points] data can be created only to [Reference Information] group.
[Points Attribute Browser]
When [Points] data is selected in the [Object Browser], [Points Attribute Browser] is shown. Figure 249 shows an example of [Points Attribute Browser]. The list of columns in [Points Attribute Browser] is shown in Table 24.
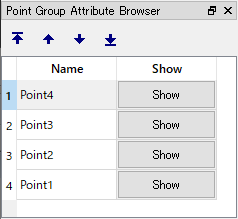
Figure 249 Example of [Points Attribute Browser]
| Column name | Description |
|---|---|
| Name | The name of points. You can edit the values. |
| Show | When clicked, the clicked point is shown in the center of the drawing area. |
Selecting operation
For [Points], user can select multiple points at the same time. the selected points can be deleted or sorted with one operation.
User can select points with the two ways below:
- Mouse operation: Draw boundary box by left-dragging, and all points sorrounded by the box are selected.
- Attribute browser operation: Click on items in [Points Attribute Browser], and the clicked item is selected. You can select multiple items, by clicking with pressing Ctrl key.
[Add New Points]
The procedure to add a new point is as follows:
- Select the [Reference Information] under [Geographic Data] in [Object Browser] (Figure 250).
- The operation below adds a new [Points] to [Object Browser], and that data is selected. (Figure 251)
Menu bar: [Geographic Data] (E) –> [Points] (I) –> [Add New Points]
- On the canvas, define a point by left clicking.
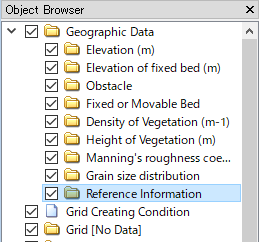
Figure 250 Example of the [Object Browser] display
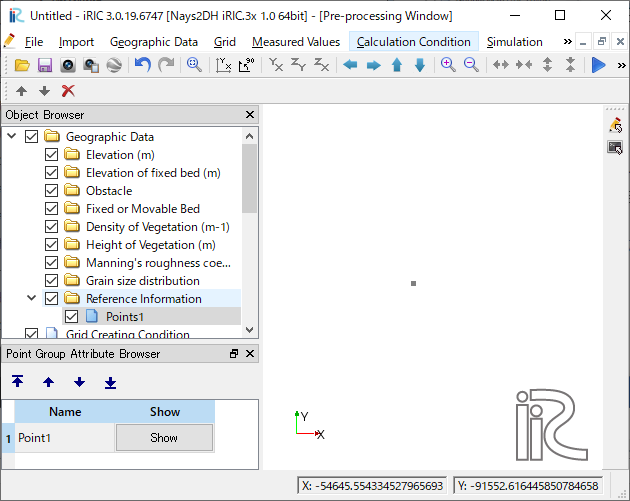
Figure 251 [Pre-processing Window] when the [Point] is defined
[Add New Point]
Description: Adds a new point to [Points] data.
[Add New Points] adds a new [Points] data. On the other hand, this function add an new point to the [Points] data that already exists.
The step to define a point is the same to [Add New Points].
[Edit Coordinates] (C)
Description: Edits the coordinates of the the [Points].
When you select [Edit Coordinates], the [Point Coordinates] dialog (Figure 252) will open. Edit the coordinates and click on [OK].
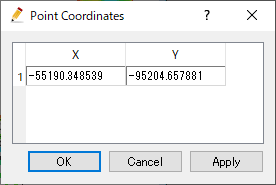
Figure 252 The [Point Coordinates] dialog
[Merge]
Description: Merge points in other [Points] to this data.
[Select data to merge] dialog (Figure 253) is shown. Select the data to merge, and click on [OK] button.
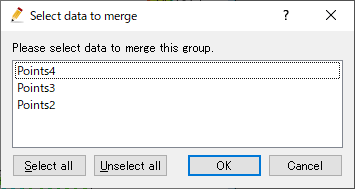
Figure 253 [Select data to merge] dialog
[Color Setting] (S)
Description: Edits the color of the [Points].
When you select [Color Setting], the [Points Color] dialog (Figure 254) will open. Edit setting and click on [OK].
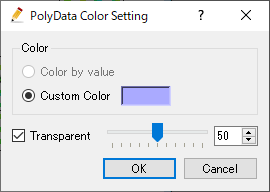
Figure 254 The [Color Setting] dialog