Common functions
The functions available commonly for all types of [Geographic Data] are explained in the following sections.
[Color Setting]
Description: Edits the colormap for each type of geographic data.
When you select [Color Setting], the [Color Setting] dialog will open. Change the setting and click on [OK]. The content of the dialog varies depending on whether the geographic information is a real or integer(selected from multiple candidate values).
For Real Values
The dialog shown in Figure 136 will appear.
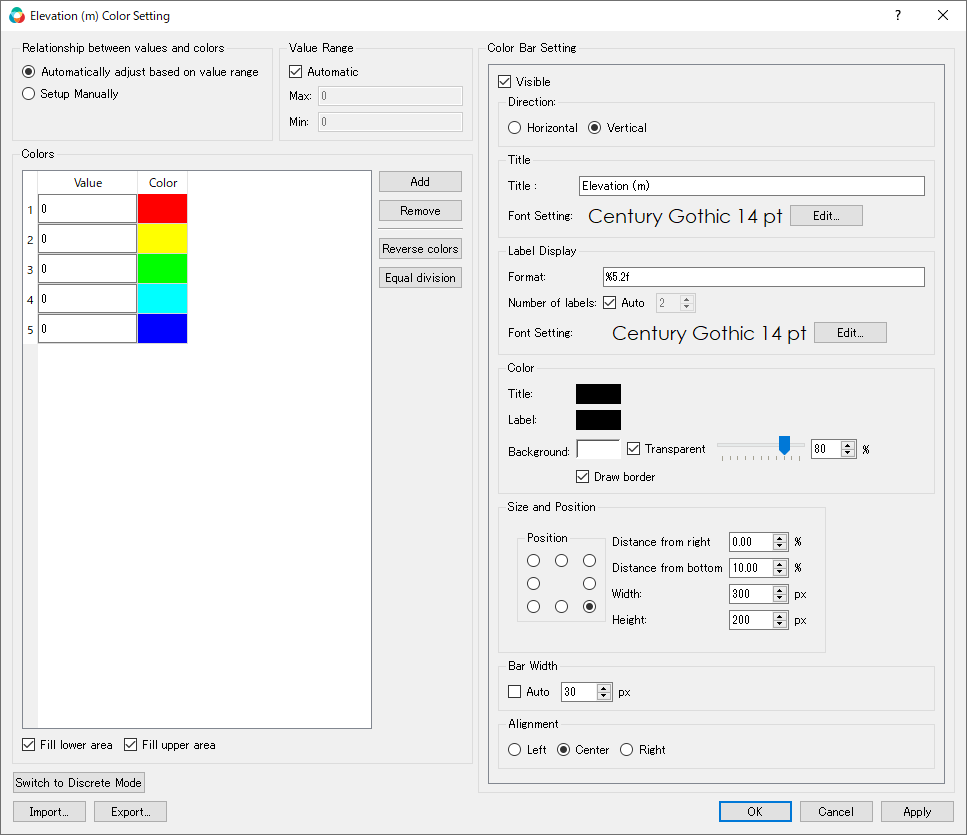
Figure 136 The [Color Setting] dialog
For Integer Values
The dialog shown in Figure 137 will appear.
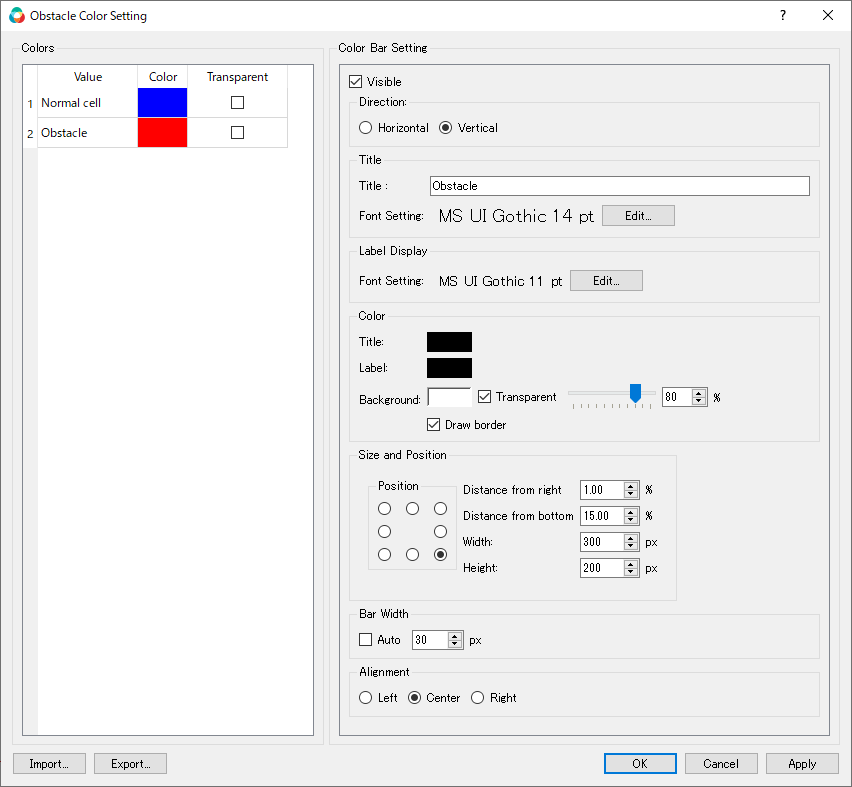
Figure 137 The [Color Setting] dialog
Note
In iRIC ver4, geographic data added in the preprocessor window can also be viewed in the Post-processing window. The main specifications of the color settings are as follows.
The color settings for geographic information in the Post-processing window are inherited from the settings in the preprocessor window at the time the Post-processing window is opened.
If the Post-processing window is already opened, color settings for post-processing window will not be changed even if the color settings are changed in the preprocessor window.
When changing the color settings in the post-processing window, the color settings for preprocessor window will not be changed.
[Edit Name] (N)
Description: Edits the name of [Geographic Data].
Select the geographic data in [Object Browser] that you want edit name, and perform the following:
Menu bar: [Geographic Data] (E) –> (Type of geographic data selected) –> [Edit Name] (N)
[Object Browser] changes and now you can edit the name of the selected geographic data (Figure 138). Input the new name and press Enter key.

Figure 138 The [Object Browser] while the name of [Geographic Data] is being edited
[Delete] (D)
Description: Deletes geographic data.
Select the geographic data in [Object Browser] you want to delete, and perform the following:
Menu bar: [Geographic Data] (E) –> (Type of geographic data selected) –> [Delete] (D)
The [Delete item] dialog (Figure 139) will open. Select [Yes].

Figure 139 The [Delete item] dialog
[Import] (I)
Description: Imports [Geographic Data].
The function of this item is the same to [Geographic Data] under [Import] menu under [File] menu. Refer to [Geographic Data] (E).
[Export] (E)
Description: Exports geographic data.
The function of this item is the same to [Geographic Data] under [Export] menu under [File] menu. Refer to [Geographic Data] (E)
[Delete Selected] (S)
Description: Deletes multiple geographic data at once.
In [Object Browser], select the geographic data group that contains the data you want to delete, and perform the following:
(Selected geograhic data) –> Right-clicking menu –> [Delete Selected] (S)
The [Delete selected geographic data] dialog (Figure 140) will open. Check on the items that you want to delete, and click on [OK] button.
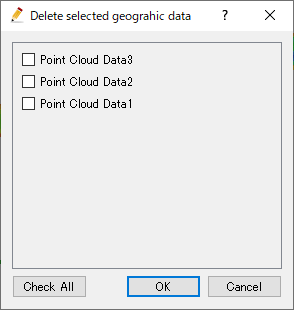
Figure 140 The [Delete Selected item] dialog
[Delete All] (A)
Description: Deletes all geographic data in the group.
Select the geographic data (including more than 2 items) in [Object Browser] you want to delete, and perform the following:
Menu bar: [Geographic Data] (E) –> [Delete All] (A)
The [Delete All item] dialog (Figure 141) will open. Select [Yes].
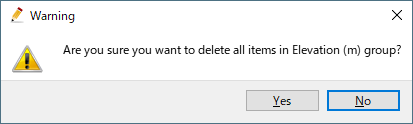
Figure 141 The [Delete All item] dialog
[Export All Polygons]
Description: Exports geographic data (including more than 2 polygons).
Select the geographic data (including more than 2 items) in [Object Browser] you want to export, and perform the following:
Menu bar: [Geographic Data] (E) –> [Export All Polygons]
The [Export Polygons] dialog (Figure 142) will open. Input file name and click on [Save].
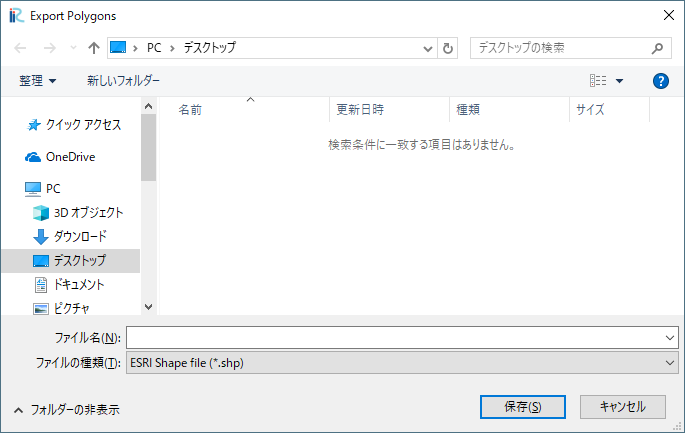
Figure 142 The [Export Polygons] dialog