Background Image
Below are the functions for editing the background image.
A background image means an imported image file. An imported aerial photograph of the area to be analyzed can be used to edit the geographic data and grid information.
The following types of image files can be imported for the iRIC background image:
jpeg
png
tiff
When a geographic reference file (refer to the iRIC Related File Manual) is in the same folder as an image file, the file is automatically read and used to adjust the positions.
When there is no geographic reference file, the position of the imported background image is automatically adjusted such that it is displayed in the same area as the already imported geographic data and grid. After that, the user can manually adjust the image.
Functions related to the background image are available only when the Pre-processor is active. The function of each menu item is explained here.
[Import] (I)
Description: Imports the background image. A background image can be imported by either of the following operations:
Menu bar: [File] (F) –> [Import] (I) –> Background image (B)
Menu bar: [Import] (I) –> Background image (B)
Then, the [Open Image File] dialog (Figure 380) will open. Select the image data file you want to import and click on [OK].
Then, the background image is imported and the item is added to [Object Browser]. Figure 381 shows an example of the iRIC display after a background image has been imported.
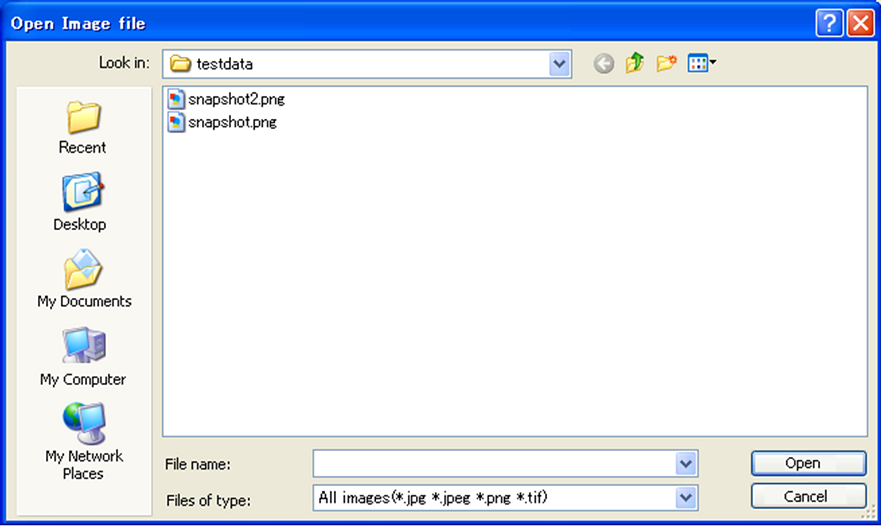
Figure 380 [Open Image File] dialog
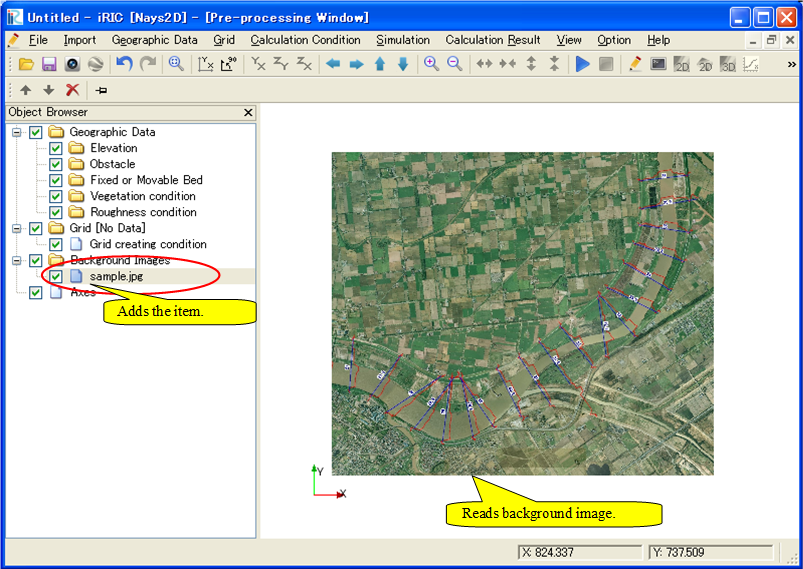
Figure 381 Example of the iRIC display after a background image has been imported
Georeference
Description: Adjusts the background image locations by specifying corresponding points (GCPs).
In [Object Browser], select the background image whose position you want to adjust. Select [Georeference] from right-clicking menu to open [Georeference] dialog. (Figure 382).
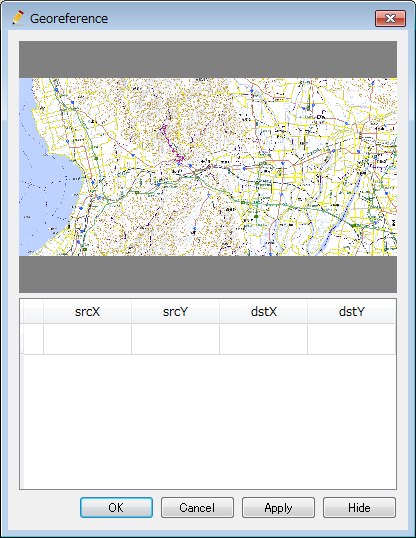
Figure 382 [Georeference] dialog
Click on the image in the [Georeference] dialog to add a point.
Then, click on the [Pre-processor Window] to add a corresponding point.
Repeat clicking to add as many points as you want. Figure 383 shows an example of the iRIC display after five pairs of points have been selected.
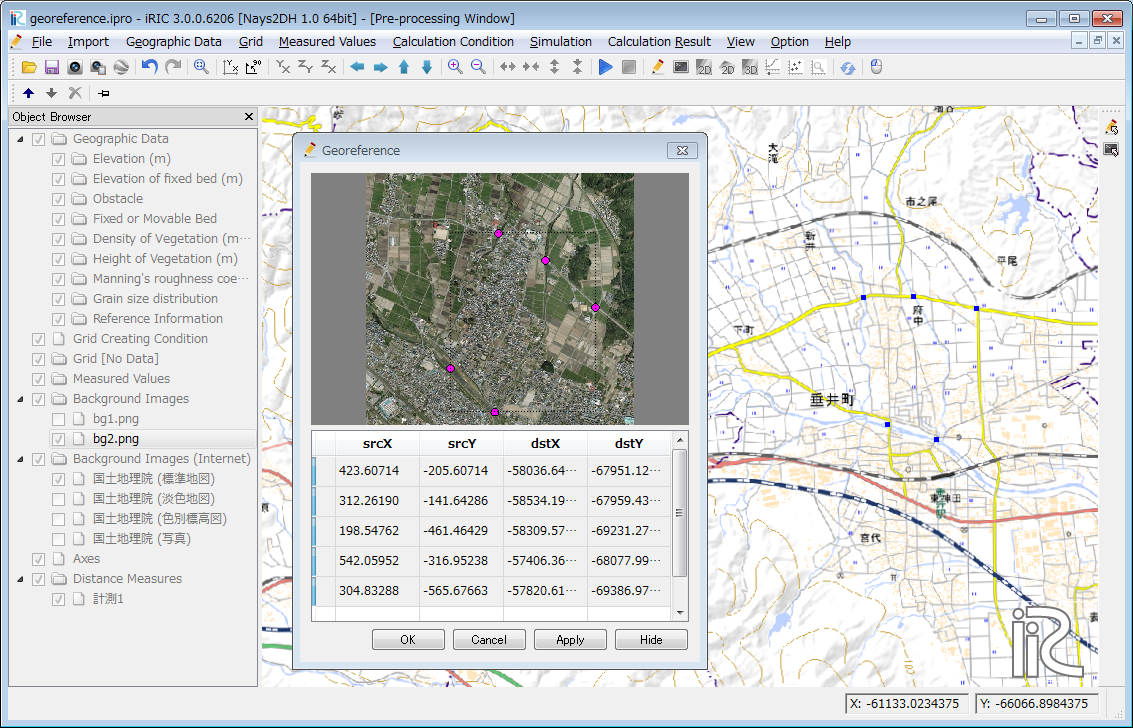
Figure 383 Example of the iRIC display after specifying points for georeference
By clicking on [Apply], you can see a preview of georeference.
When you click on [OK], the image position will be modified and dialog will be closed.
You can revert the image position by clicking on [Cancel].
Figure 384 shows an example of the iRIC display after [Apply] is clicked.

Figure 384 Example of the iRIC display after applying georeference
You can modify the position of points by mouse operation, or by editing coordinate values in the table.
You can delete selected points from right-clicking menu.
Adjusting Positions
Description: Adjusts the background image locations.
In [Object Browser], select the background image whose position you want to adjust. Perform the procedure explained in Table 37 on the canvas to adjust the position of the background image.
Adjusting operation |
Action |
Cursor |
|---|---|---|
Rotate |
Left drag |
|
Zoom in/out |
Drag or scroll up/down the mouse wheel |
|
Translate |
Right drag |
|


To fix the position of the background image, select ![]() in the
Operation Toolbar (the icon changes to
in the
Operation Toolbar (the icon changes to ![]() ). When the position of
the background image is at a fixed point, the adjusting operation is
disabled, even if [Background Image] is selected in [Object Browser].
). When the position of
the background image is at a fixed point, the adjusting operation is
disabled, even if [Background Image] is selected in [Object Browser].
Click again to make the background image movable.
By selecting [Property] from right-clicking menu, you can open [Background Image Position] dialog (Figure 385) and specify the position by editing values.
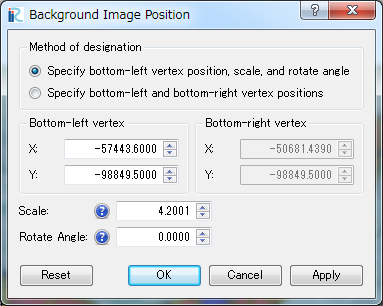
Figure 385 The [Background Image Position] dialog